
Showing posts with label Final Project. Show all posts
Showing posts with label Final Project. Show all posts
Tuesday, January 15, 2013
Final Backgroud Project

Final Backgrounds Project

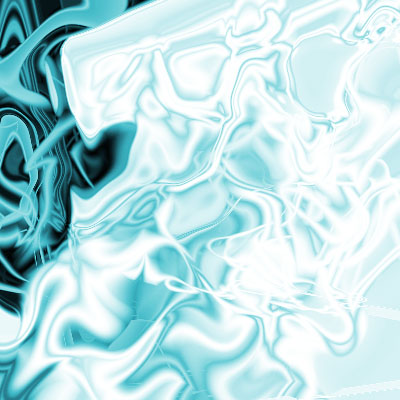


Above are three of the backgrounds that I made. The first is a colorful swirls background. To make it, I used a lot of the filter tools like the cloud tool, the mesotint, radial blur, and the twirl tool. I then duplicated the layer and swirled it the other way then used the hue and saturation tool to change the color of the swirls. I changed one of the layers to lighten so that both layers would show up well. The second is a wavy background. I used mainly the wave filter tool and the gradient tool. For the 3rd one, I duplicated the layers and changed the color of the waves by using the hue and saturation tool. Then I used the warp tool and warped the lines into a interesting shape.
Then I changed the color of the background to black because it looked
better with the rainbow. Then I made a new layer and added small dots
using the brush tool. I then set that layer to glow overlay to give it
the effect of light.The last one I made is a windows vista background. I used the ellipse tool and painted in white. I blurred a background and made it purple using the hue and saturation tool. I changed the colors of the lines and set them to have an outer glow.
Monday, January 7, 2013
Final Sphere Project

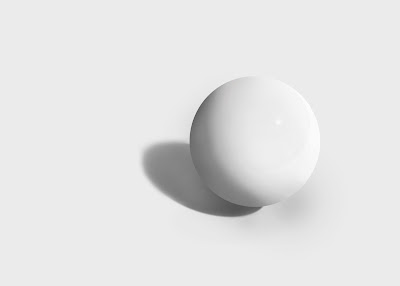
Above is my final sphere project. I painted a sphere using different brush tools and different flow levels and the ellipse tool. I then shaded the sphere in to give it dimension. Then I added the ground shadow (using the ellipse tool), the ambient shadow, the specular highlight, and the key shadow.
Monday, December 10, 2012
Final Haunted House Project

Blending Final Project


Monday, November 26, 2012
One Point Perspective Project

Hello again fellow bloggers,
The above is my one point perspective photo. The assignment was to draw lines. As you can see the horizon is in green, the vanishing point is in yellow (with its accompanying diagonal lines), and the blue are vertical lines displaying how straight the photo is. It was a pretty easy assignment as all I did was draw lines, change their color, and potentially the hardest part label them.
-Julia
Tuesday, November 13, 2012
Lady+Stool=Magic
This is my other animation cycle. I chose to do this because I thought that it looked cool. I cropped each picture out and then lined them up and used the animation tool in photoshop like I did with the dog. The picture quality is not very good. But it still is amusing.


Dog Walking (Animation Final)

This is my final animation project. I originally was using a flame, but I couldn't get that one to be continuous. I did this by using the animation tool in photo shop. I used several different pictures and lined them with each other. Then I adjusted the time of each frame to be .1 so that it would look more animated and continuous.
Monday, October 15, 2012
Final Spiderdoo Project

Today I finished my spider-doo project. I changed the color of scooby's face to match the color of spider man's body. I then added webbing to scooby's face. I also cut out the words "spider doo".
Thursday, September 20, 2012
FInal Zebra-Rhino Project

Above is my final zebra-rhino project. The assignment was to combine a zebra and rhino using photoshop. I used the liquefy tools and the lasso tools to complete this assignment. The face was the hardest part to do.
Wednesday, September 12, 2012
Statue of Liberty Final Project


Monday, September 10, 2012
Final Dog Project

Above is my final project. Our assignment was to remove various objects from the picture using the healing brush. I think the most difficult part of this project was removing the tree branch.
Thursday, September 6, 2012
Final Healing Brush Project

Above is my final healing brush project. Our assignment was to remove a car and poles from the picture using the healing brush.
Tuesday, September 4, 2012
Final Liquefy Project

Hello,
Above is a picture of my final liquefy project I did in class. Our assignment was to take a picture and photoshop it to look like his brother. I did this using the liquify tools in photo shop. Above is a before and after picture.
Subscribe to:
Posts (Atom)